It’s 29 degrees here this week, and for once I have something weather-appropriate to share with you. Enter New Look 6483…

The pattern
This pattern came free with Sew magazine, and the envelope very enticingly says ‘1-hour sewing time’! There are several variations with three necklines to choose from: crew, boat and square, and the crew neckline is offered sleeveless or with short sleeves. (Should you desperately want to make one of the other necklines with sleeves, just transfer the neckline over to the sleeved pattern piece. Don’t try it the other way around, trust me.)
Fitting
I chose the sleeveless, square-neck option and settled in for the toile (muslin) process. Here’s toile #1:


I cut a straight size 14 based on my high bust measurement of 36″, knowing I’d need some sort of FBA. As you can see, there are a few other issues too. My right shoulder is a lot lower than my left, and the armhole needs raising by around 1cm. I also need more width to the tune of about 2″, and possibly some extra length, below the bust. I also thought I might need a forward shoulder alteration at some point.
Following the Palmer/Pletsch Complete Guide to Fitting (which I think is good, if slightly chaotic) I raised the armhole first. In a sleeveless top, this is as simple as folding out the excess front and back and smoothing the curves. Another quick try-on showed I then needed a 2″ FBA.
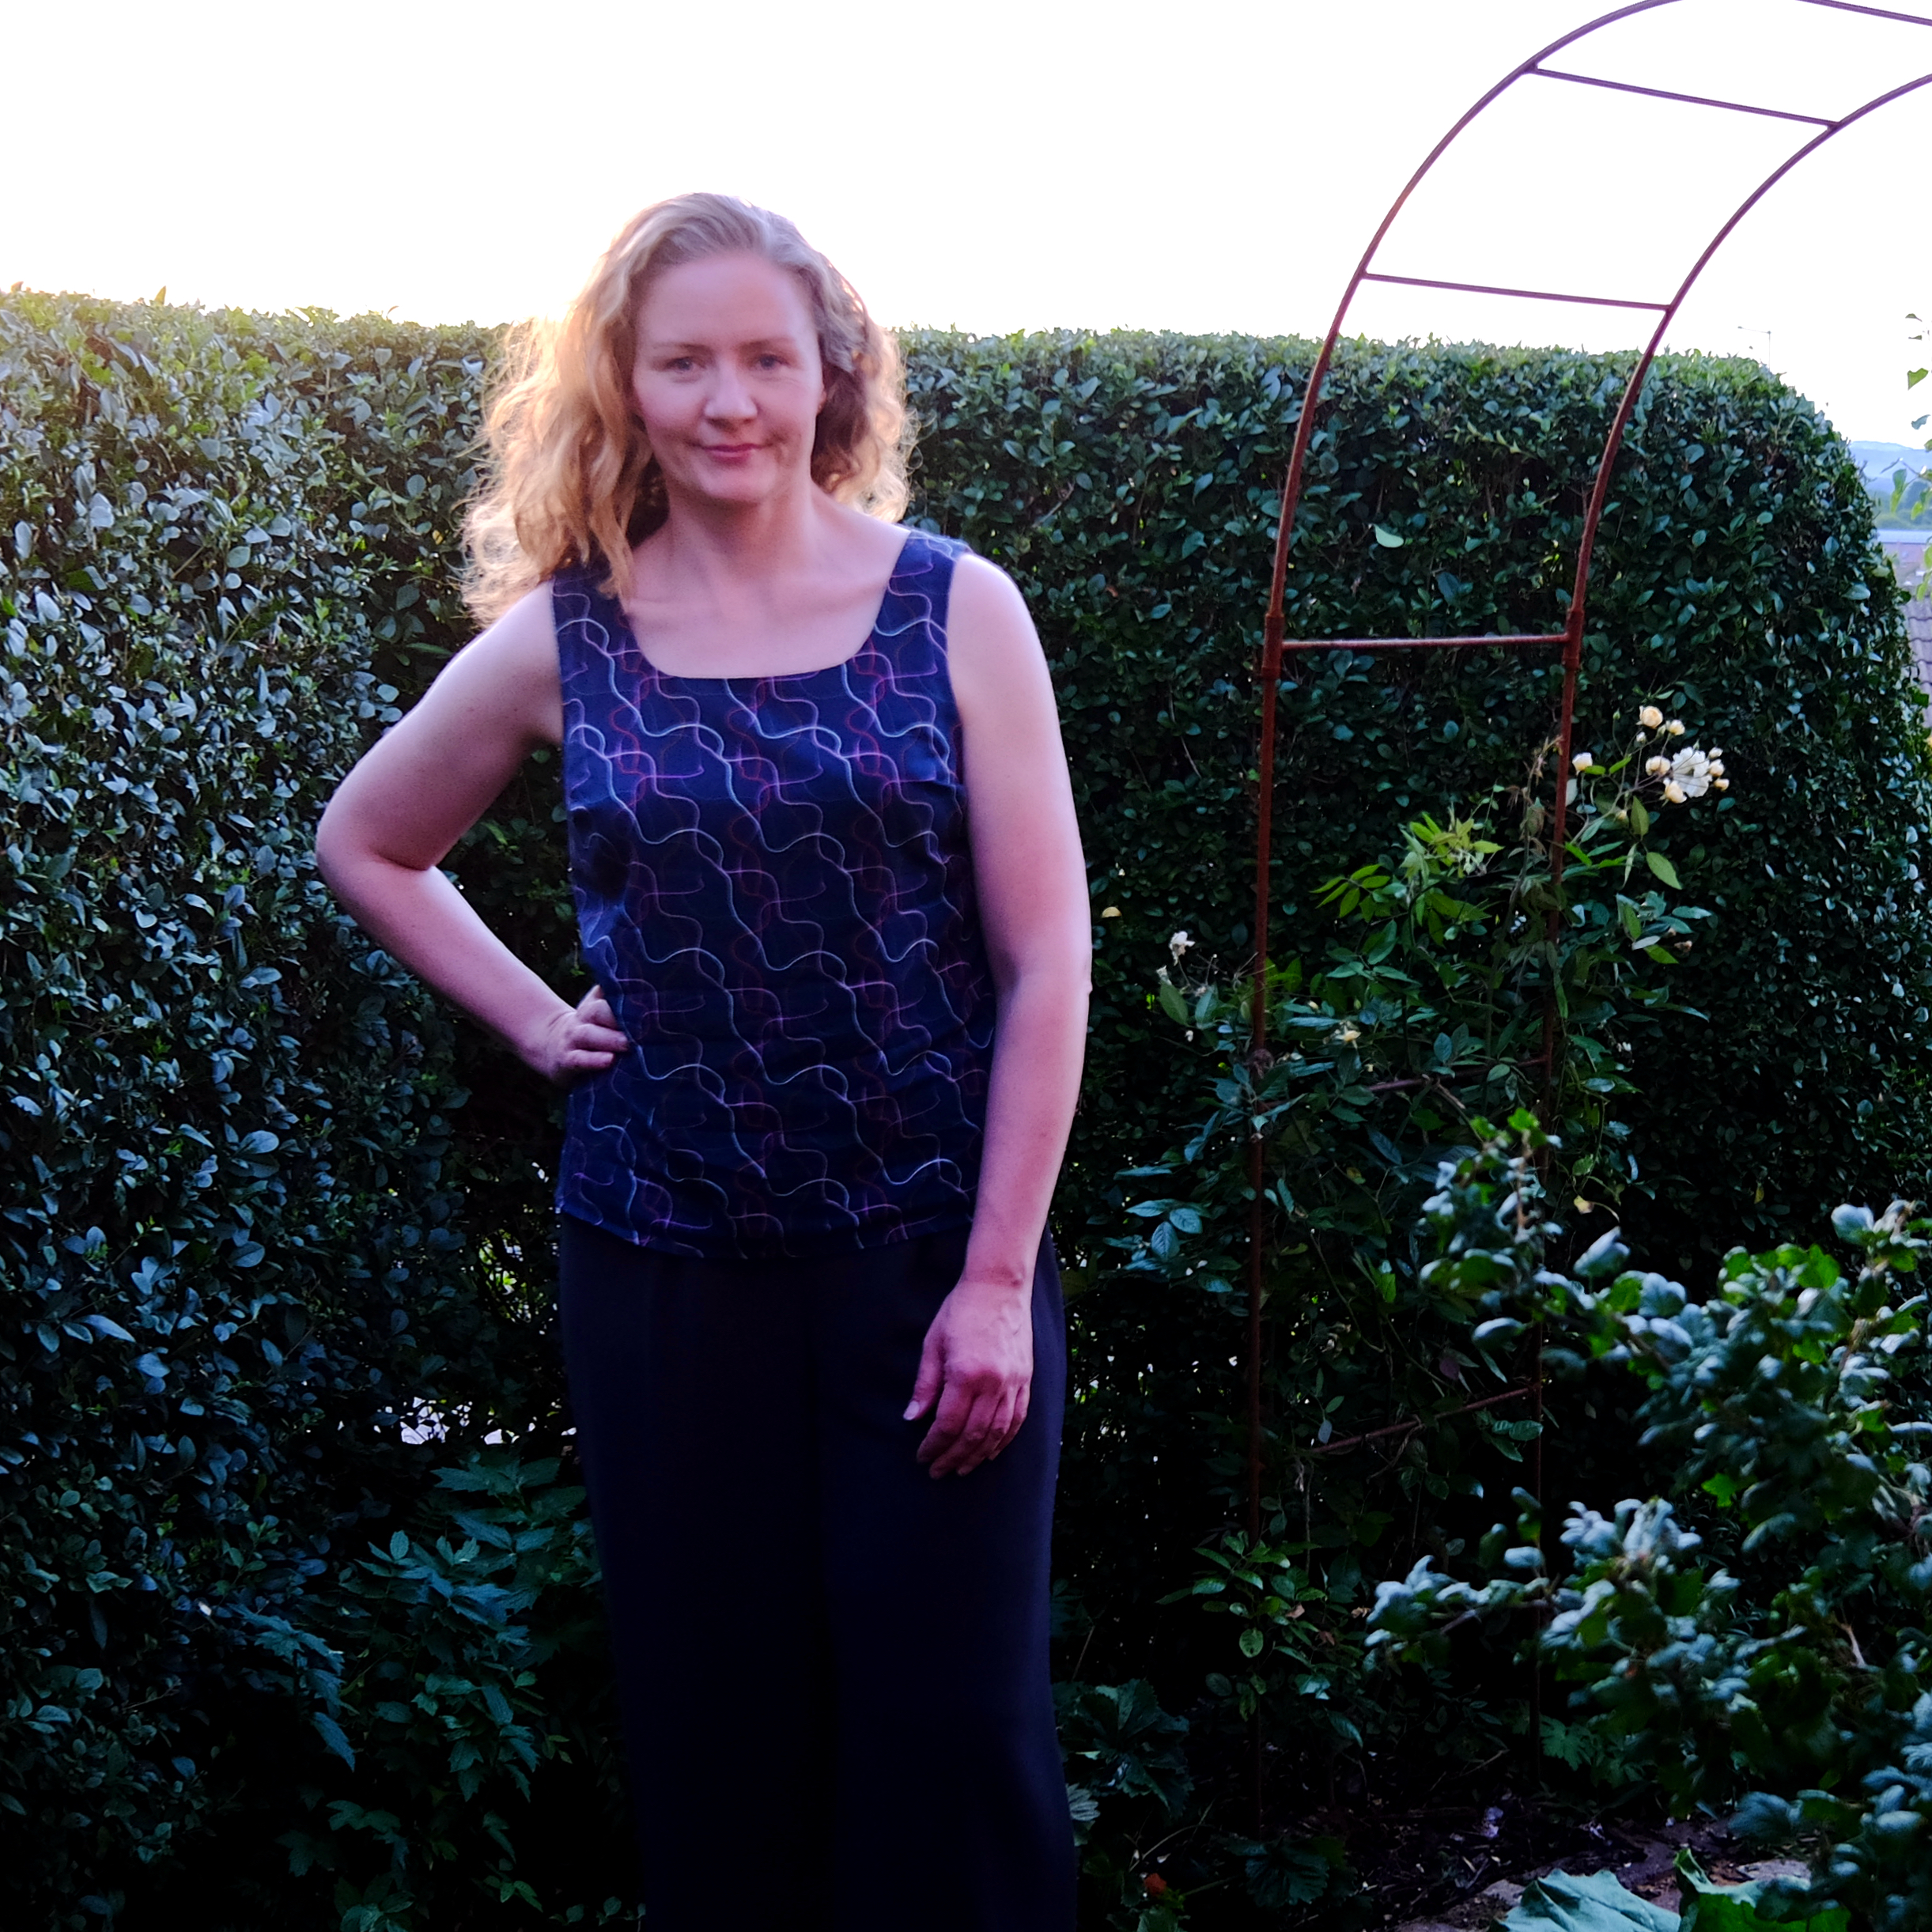
I did both those steps, following the standard FBA tutorial in the PP Complete Guide to Fitting, and then cut and sewed a new toile. Here it is:


The fit around the bust and shoulders is better now without the telltale gaping at the armhole. The standard FBA also adds width below the bust, and I decided not to add any more. I compared the waist marking at the side seam with my natural waist and decided not to add length either – the FBA has dealt with that. This is interesting, because in the past I’ve always read you should do all length alternations first and I typically add 1″ of length to Big 4 bodices as standard. The final adjustment was to shorten the right shoulder for my scoliosis to create the appearance of a level neckline.
Then to finish off, I had to re-draft the front facing and transfer my alterations to the back facing. PP also say that fitting should make up around 1/3 of the time you invest in any project, but I was around 4-5 hours in by this point… for a ‘1-hour sew’ pattern!
Still, if you made the different views, this is the kind of top you could easily have six of in your wardrobe, so it’s worth it, isn’t it??
The fabric
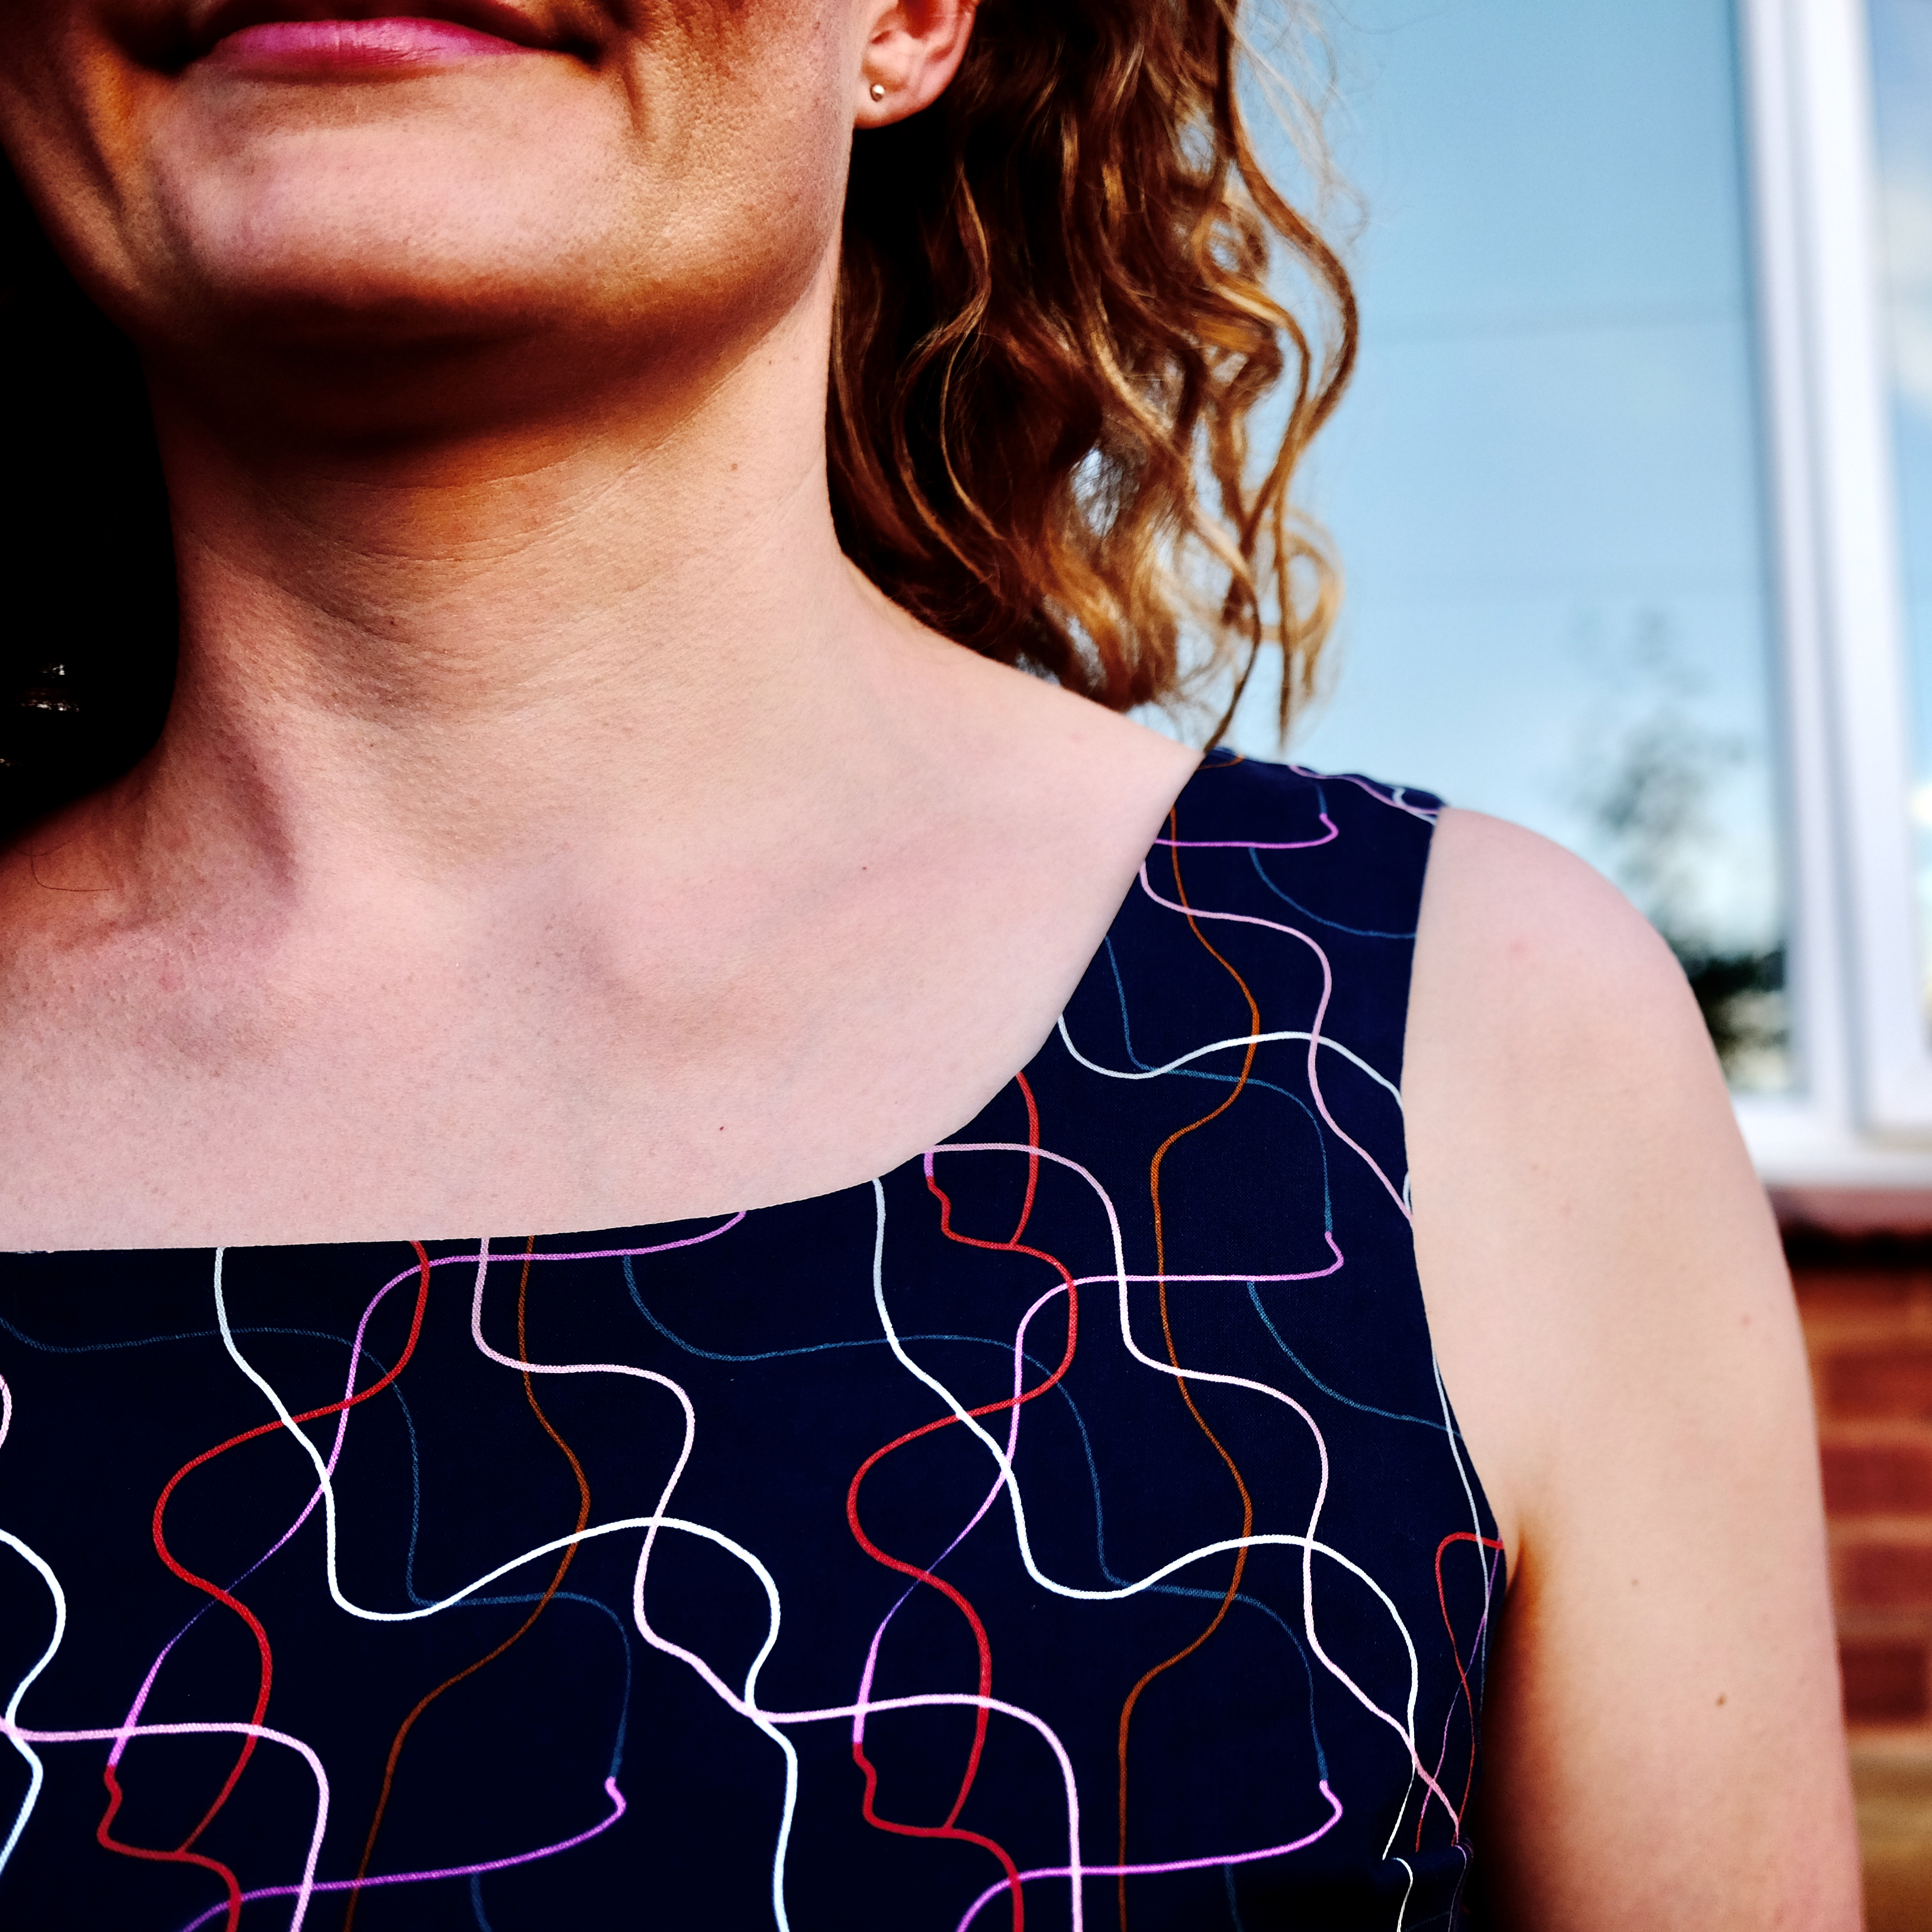
I wanted this top to be something I could wear on really hot days when I need to look smart, and lately I’ve been preferring fabrics with plenty of drape, so I chose a viscose challis called Soiree Between The Lines by Dashwood Studios from Village Haberdashery (who have an excellent online ordering service btw). I bought 1.5m to allow for possible shrinkage and pattern matching and there was around 20cm leftover. It’s lovely and fluid with great soft/cool/deep colours, but you do have to handle it carefully.
If you’re also using a viscose challis, or another shifty fabric that stretches out of shape easily, you might like to staystitch more edges than the pattern instructions suggest. With hindsight, I’d also recommend block fusing the facing pieces.
Construction

I attempted to match the pattern on the centre back seam, and it’s come out satisfyingly well – I recommend Sarah’s tutorial if you want to become a pattern-matching ninja.
Without the facings, this is a simple top to make up – but there are two complications. Sealing the facings in neatly at the shoulders gives a beautiful finish, but it is a bit laborious because you need to be precise. And the mitred corners on the narrow split hem drove me to distraction in this lightweight, shifty fabric – a stable cotton would make this much easier. The pattern works well and everything seems well-drafted.

The pattern recommends using a thread chain to make the button loop, which I hadn’t tried before. I used an Oliver + S tutorial, which worked well for me, and I found the process a lot easier than I’d expected. A rouleau loop and a covered button would also be a beautiful way to close the neckline.
I opted to overlock the main seams and the free edge of the facings, chiefly out of laziness. Also I couldn’t work out how to do a french seam that stops part in time for the split hem – can anyone tell me if this is topologically possible?!
And that’s it. I feel as though I have to make three more of these to recoup the effort I put into the fitting process, but I might leave it a while and then forget about it until next summer. Right now, this top is just what I need to get through the hot weather – bring on the ice cream!
Have you got a favourite sleeveless woven top pattern? And what’s the longest you’ve ever spent working on a one-hour pattern?

Such a pretty print! I’m often put off by prints (I look like I’m wearing upholstery) but this one is lovely. I’d wear it in a minute – and it looks wonderful on you! Thanks for sharing this one.
LikeLiked by 1 person
Thank you! I’m not a novelty print person at all (or florals – I feel similarly to you about dressing like a pair of curtains), but I do like more abstract and geometric prints like this one if they’re in the right colours.
LikeLike