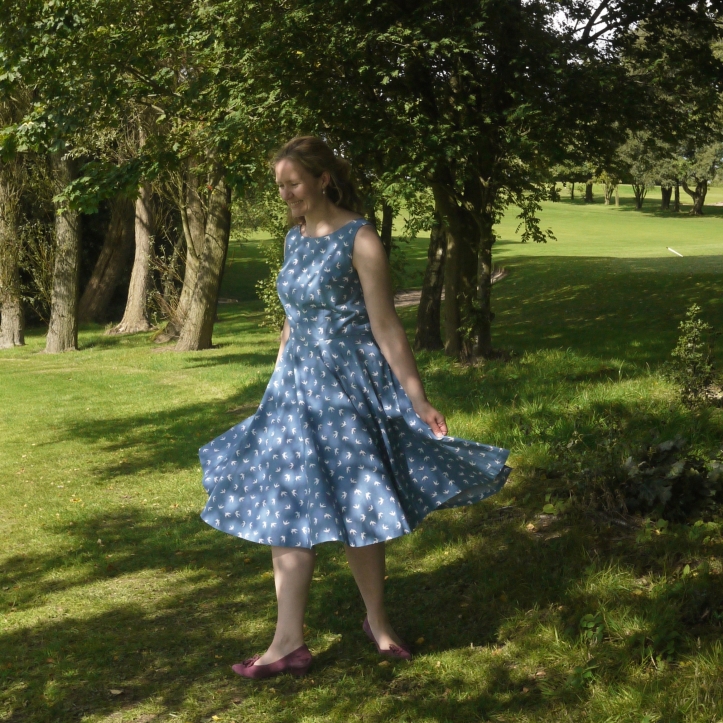
My sister Alice got married last weekend, so this is what I wore to be one of her bridesmaids.
(I have a feeling that technically I was a matron of honour rather than a bridesmaid, but no one knows what that means, so I’m sticking with bridesmaid.)
Alice and her new wife, Kate, let us choose our own dresses. The only rules were that it had to be a dress, and it had to fit with the day’s blue/turquoise/silver colour palette. We don’t live close to each other so we each chose our own dresses and only saw the others’ dresses on the day. (If I can get one or two of the professional photos to share I’ll try to remember to add them here.)
The pattern
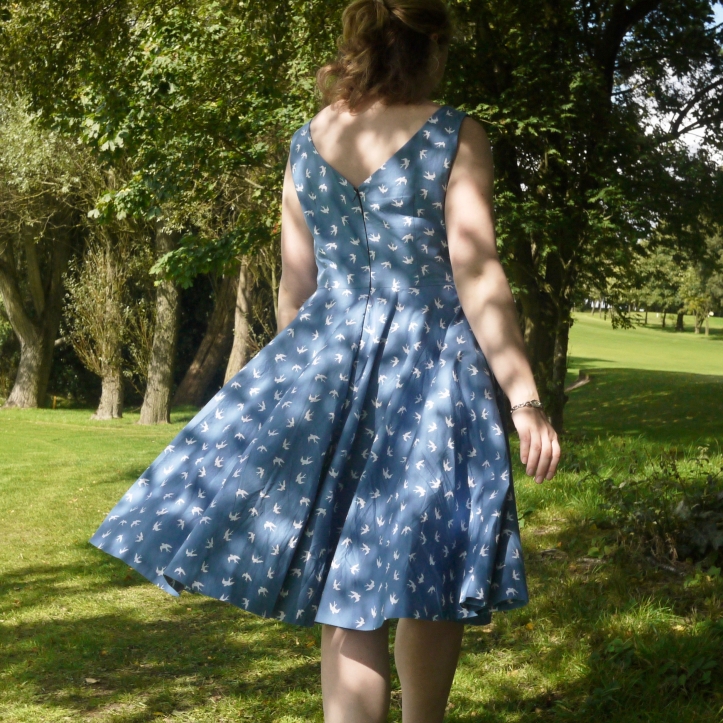
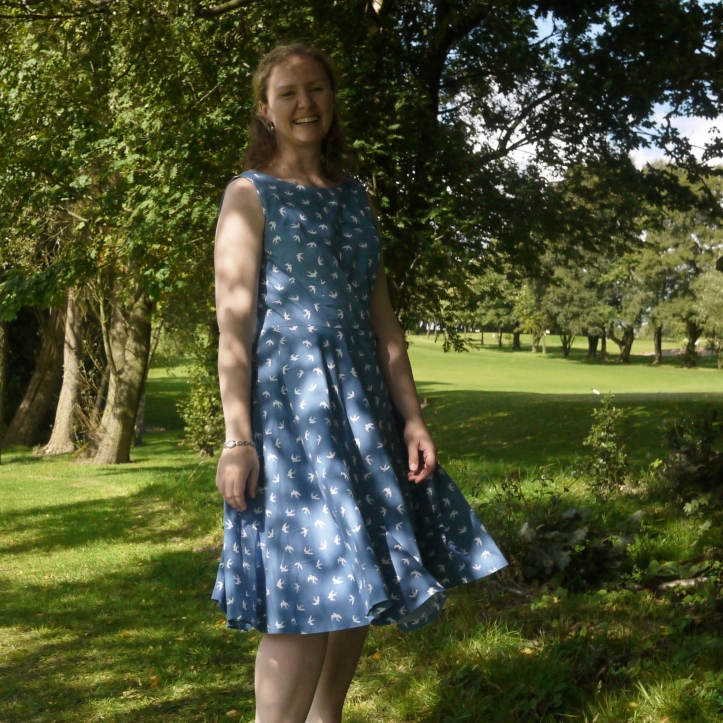
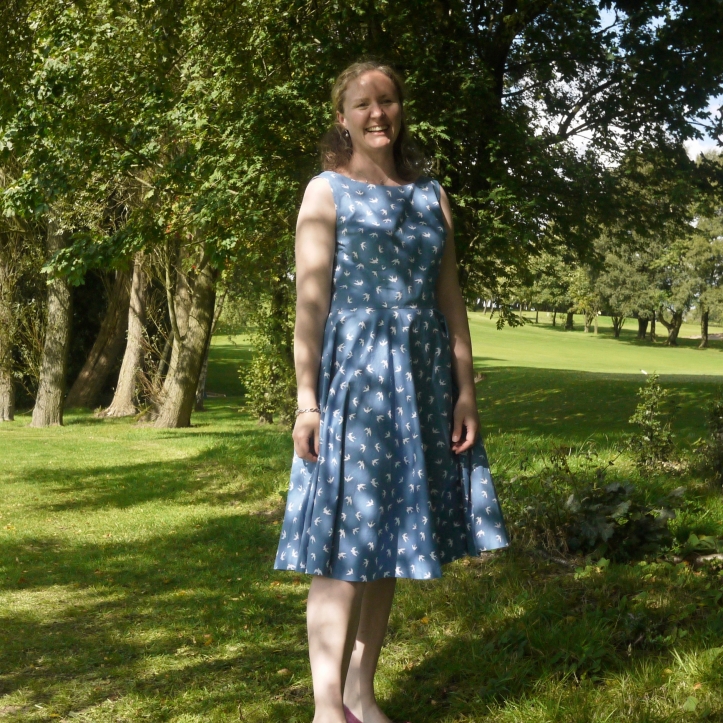
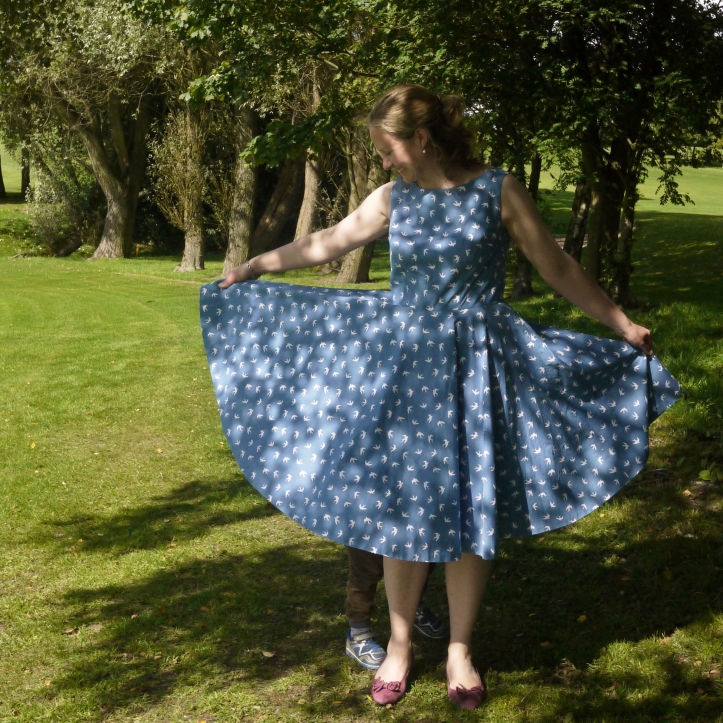
I opted to make Sew Over It’s Betty dress, which probably doesn’t need an introduction. It’s a simple darted bodice, with a slash neckline at the front and a V at the back. It fastens with an invisible zip up the centre back, and the neckline and armholes are finished with a combined facing. The pattern is fabric-hungry because it has a knee-length circle skirt.
In cotton, this pattern is a great first dress for a beginner sewist. There’s nothing very tricky in the construction, and the darted bodice is the one that most fitting tutorials use as an example. The instructions are pretty clear and there’s also an online sewalong.
What I really love about this dress is the possibilities it offers. Sew Over It have released an add-on pack, with a scoop-neckline variation and a set of sleeves. But you could also try drafting these at home, add a lining or attach this bodice to any skirt you please. There are so many great variations and hacks around to choose from.
The fabric


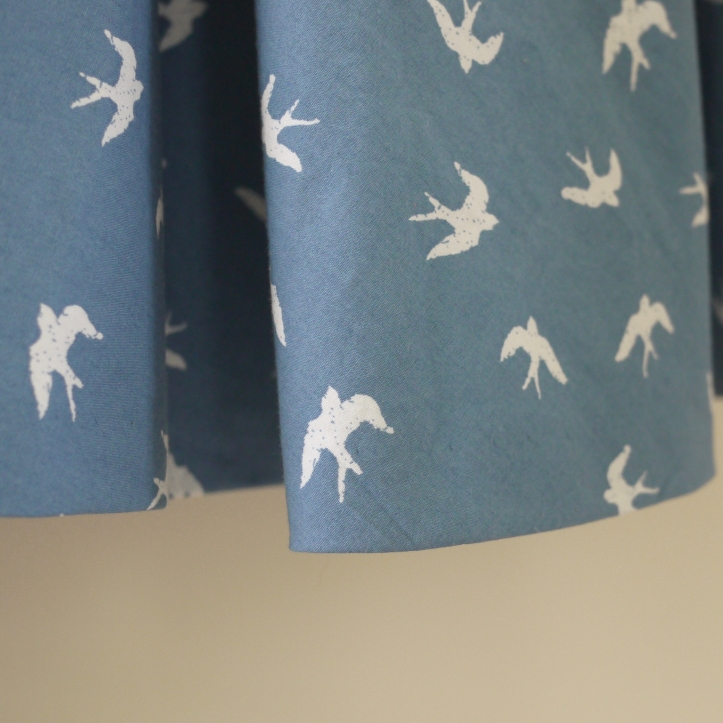
First time out, I stuck with the suggested fabrics and chose a medium-weight cotton in this gorgeous swallow print from Guthrie & Ghani. I squeezed mine out of 4.3m, despite lengthening both the bodice and the skirt.
Fitting
I made two toiles to get the fit right – you can read about those here. In the end I made the following alterations:
- added 1″ to the bodice length just above the waist
- added 1″ to the skirt length at the bottom
- graded from size 12 at the shoulders to size 14 at the waist
- did a 2″ FBA and moved the bust dart both up and back from the apex
- removed a tiny 1/8″ from each outer shoulder as a sloping shoulder adjustment
- 1/2″ swayback adjustment at the back waist
- removed a little vertical distance from the right side at the waist seam to allow for my shorter side
- re-drew the facing pieces to mirror the changes to the bodice.
If I were making it again, I’d also tweak the fit at the back a little – possibly a narrow back adjustment or taking larger back darts. And I’d increase the sloping shoulder adjustment on my right.
If you need to alter the bodice of this dress to make it fit you, the pattern doesn’t help you much. There are no lengthen/shorten lines marked, and nor are the bust apex or the natural waistline. Not deal breakers, and one or two tutorials are on the SOI website, but a similar Big 4 pattern would include these markings.
Construction
The instructions tell you to staystitch the back neckline, but I’d suggest you also do this to the front neckline and the facing.
If you can sew an invisible zip, you can make this dress. The trickiest part is the facing, which doesn’t feel intuitive the first time you try it, but does (honestly) work in the end. If you’re struggling with the SOI instructions, you could try reading this Threads tutorial, which also helped me to get my head around it.
I made two small changes to the inside. I finished most of my seam allowances on the overlocker, but for the facing, I used some pink bias binding I had lurking around. You’ll need to make sure that your bias is really lightweight so it doesn’t add bulk, but it adds a nice contrast in a place where you’ll see it every time you put the dress on.
Secondly, I decided to overlock and then hand catchstitch the hem rather than turning it up twice and machine stitching it as the instructions recommend. I’ve had problems in the past machine stitching curved hems – they tend to creep sideways on me, creating diagonal wrinkles in the hem. A machined blind hem would also work well in a medium-weight cotton like this, especially if you tack it in place first.
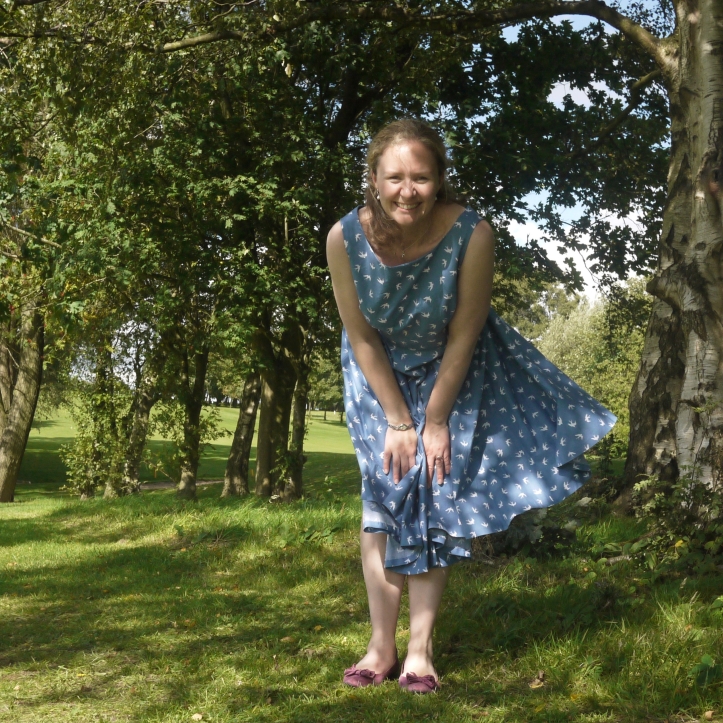
I gathered the excess fabric in the hem curve using my overlocker. I don’t have a special gathering foot for it; I just fiddled with the differential feed setting, practising on scraps until it produced the right degree of curve. I used this to finish the edge and gather (just ever-so-slightly) in one, then pressed it up with plenty of steam ready to stitch. The handstitching was a pain (did I mention this is a humungous circle skirt?), but I do think it gives a nicer finish, and I had some TV to catch up on…
The wedding went off without a hitch – apart from the actual hitch, of course.

Love your dress and the fabric – it looks great on you. And the best part is – it won’t just sit in the closet after a one-time wearing as a bridesmaid dress! You’ll get lots of use out of it.
Congratulations to you sister and her wife.
🙂 Chris
LikeLike
Thank you Chris. I think I definitely need more parties in my life so I can wear this dress out.
LikeLike
Very pretty! My daughter is getting married in December and I was planning a dress very similar in more formal fabrics. But, just happened to be walking through Macys and the perfect dress screamed out, fit perfectly and was priced for about the same as I would have spent in fabric.
So, my next version of a dress like this will be in more casual, more frequently worn fabric.
Nice job!
LikeLike
It’s always a joy to find the perfect bargain dress! I’ve seen some terrific versions of the Betty dress in fun prints, in chambray and even in Ponte Roma, so you’ll be in great company.
LikeLike