As the final reveal for the #sewtallandcreative2017 design challenge approaches, I and the other three participants (Allison, Beth and Tiffany) have been working hard to complete our dresses. I am dying to see what they’ve made, and I’m not sure I can hold out until the end date of 20 May!
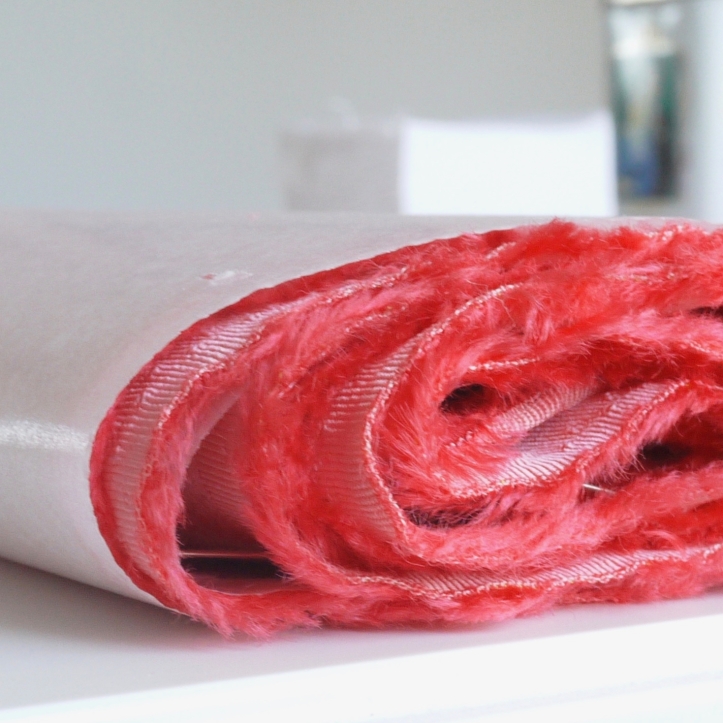
In my sewing room, I’ve been getting to grips – quite literally – with silk and slippery crepe we received from MARGE/Tall Guides.
I started by using a polyester crepe de chine to sew up a toile. This dress is fairly forgiving on fit, but I still made some alterations:
- I added 1″ to the length above the waist
- And another 1/2″ to the length between waist and hip
- I took in the vertical back seams a little around the waist area
- I nipped 3cm of length out of the centre back seam to compensate for my swayback
- I let out the side seams around 1/8″ from the hipline downwards
The swayback alteration isn’t the easiest thing to do in a dress with no centre back or waist seams, so thank you to Pattern Scissors Cloth for this excellent tutorial. Making the adjustment itself isn’t too bad, but getting the grainline and centre back straight again afterwards was messing with my head.
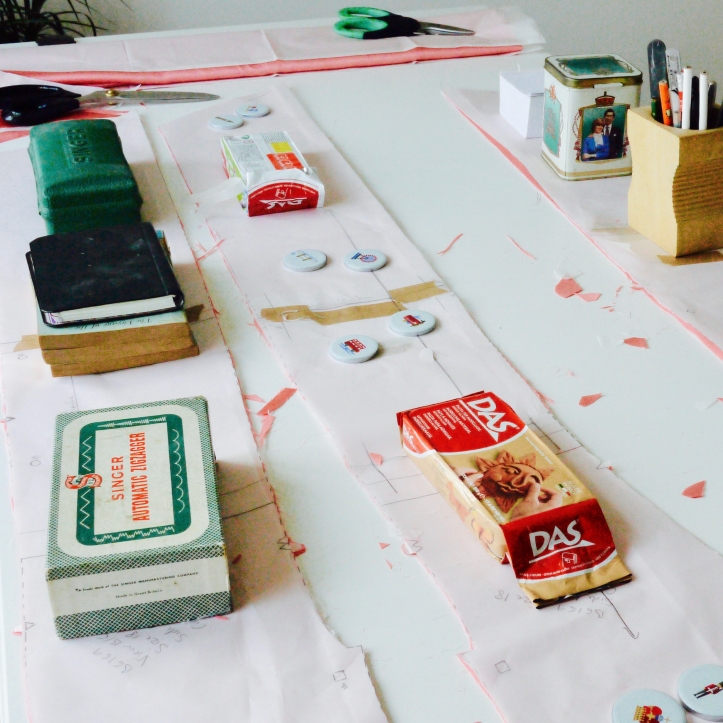
Cutting out was a challenge, even with the crepe. I don’t own a rotary cutter and mat, so I heeded the advice in this post from Grainline Studios and sandwiched the fabrics between two layers of tissue paper before cutting out. Genius – no slipping, no shifting and I saved about £100. No long-term damage to my shears, although I should probably sharpen them again soon.
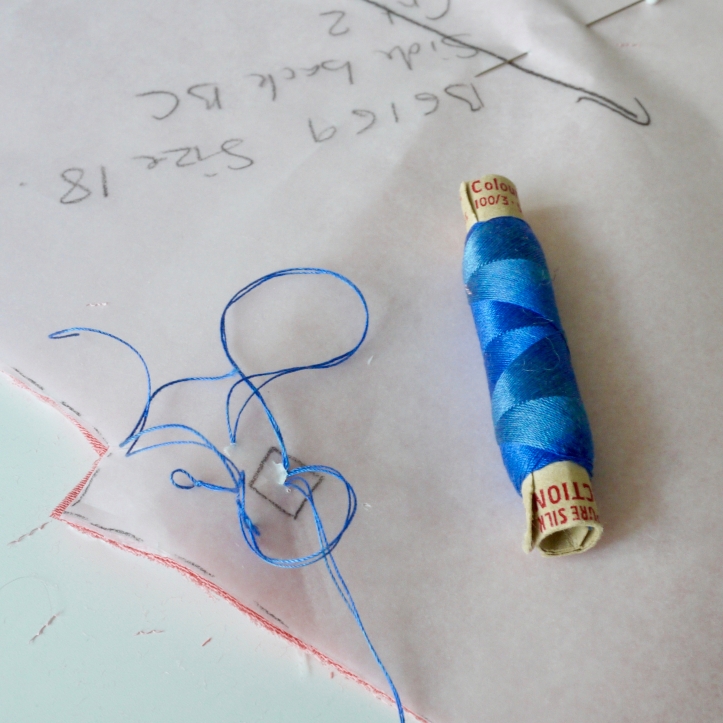
To sew up the crepe, I used a size 70 needle, and sew-all thread. I installed my walking foot and shortened my stitch length to 2.2. I finished the all-crepe seams on my overlocker.
For the silk, hmmm. The polka dots create a raised bump every inch or so, which causes the fabric to skip about under the needle, and pressing across them is a nightmare. A size 60 universal needle, some fine cotton thread and the walking foot were all deployed on a stitch length of 2. But for this fabric I also layered the fabric over tissue paper and stitched through that as well, tearing it away afterwards. Not bad, but there are still some wibbles in some of my seams…
I used a French seam finish where I could for this fabric as it’s sheer, but on the belt (which is stitched and then turned inside out) I had to try something else. I used the selvedge as much as I could so the edges wouldn’t need finishing, and on the rest I tried out a double zigzag seam, as recommended by Threads magazine.
I’ve just got the neckline and the hem left to do now, so hopefully I’ll be sharing pics of the finished article with you next weekend!
Other posts about #sewtallandcreative2017
- A tall order – the challenge launch
- Inspiration
- What it means to be a tall sewist
- Design process and choosing a pattern
- The finished dress…

[…] 4. Construction process […]
LikeLike
[…] Construction […]
LikeLike
[…] Construction process – and tips for working with slippery fabrics […]
LikeLike
[…] Construction process – and tips for working with slippery fabrics […]
LikeLike